
The structural team has been working relentlessly to try and to meet the February “Go/No-Go ” deadline. With confidence, the team has decided to “GO” and continue our efforts with the 2023 design. This past month, parts were being ordered, and designs have been finalized. Janicki has donated their time and materials to help us build our dream mold. Thank you Janicki!
The mold
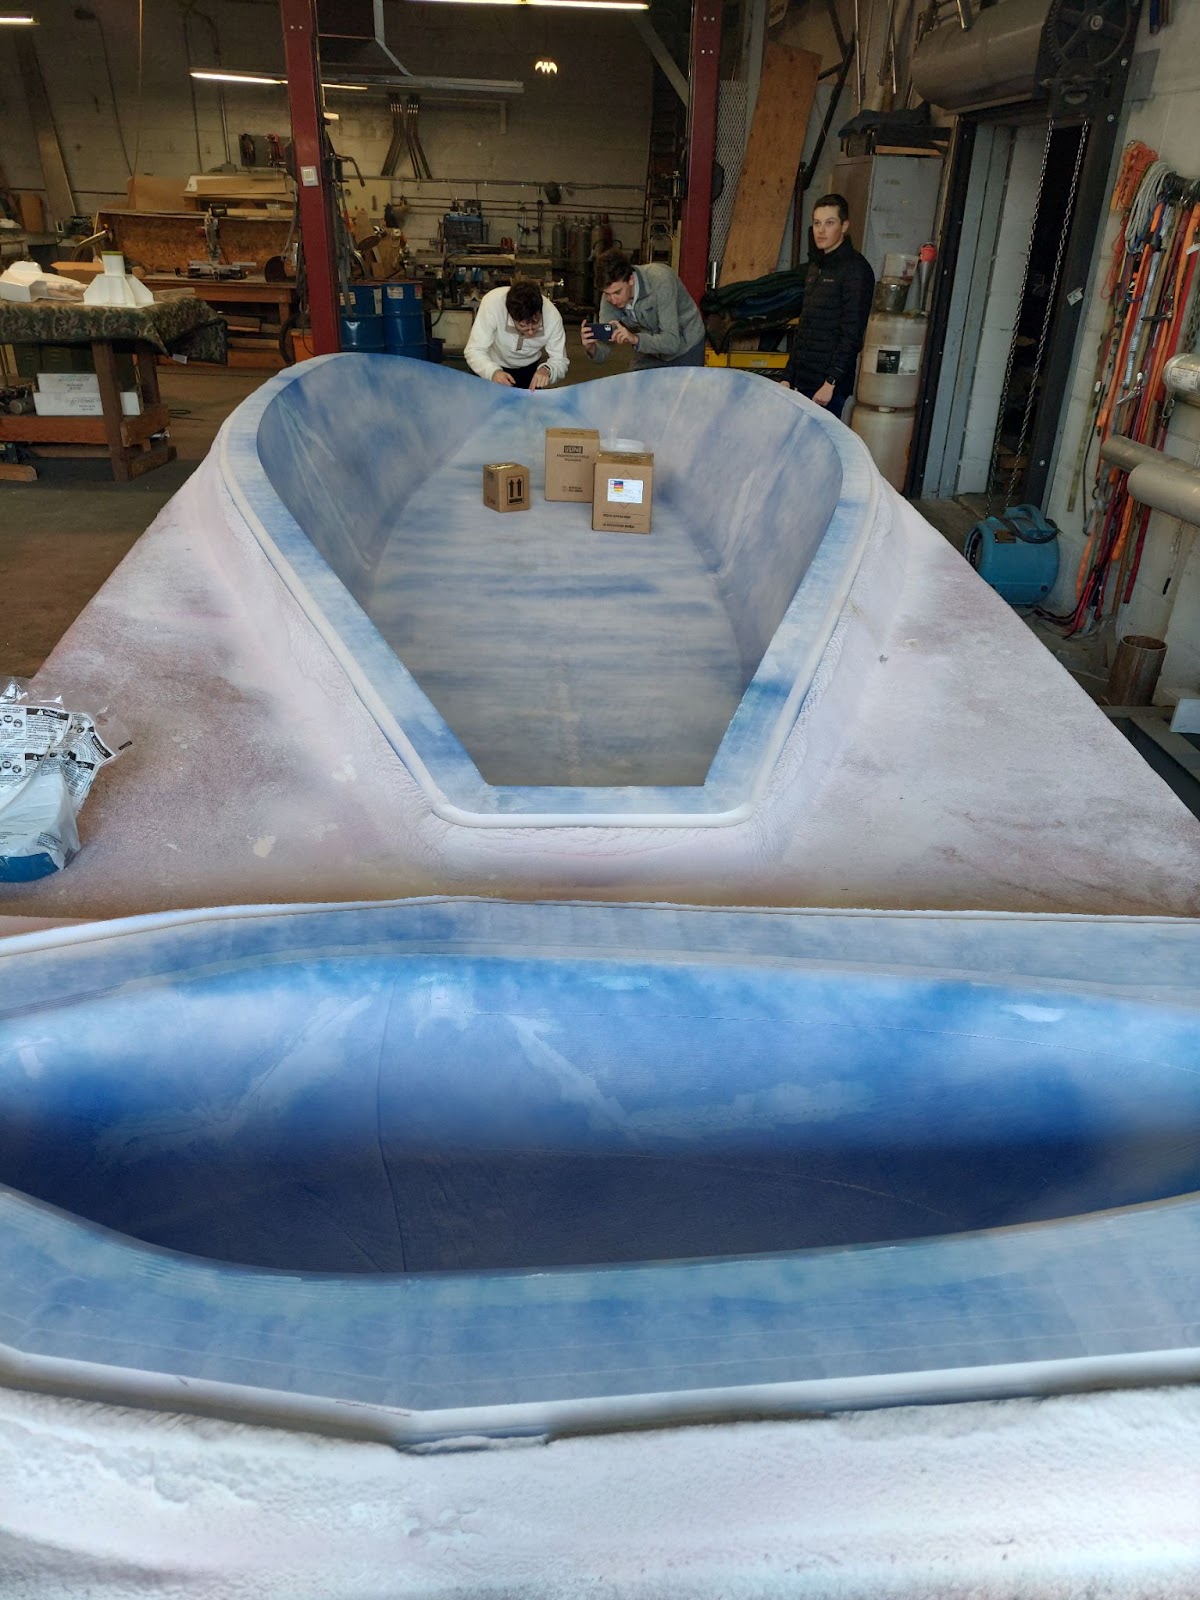
To make the mold, Janicki started with a wooden frame as the general structure. Then, they sprayed the wooden frame with machining foam, which was then carved into the shape of the car. The mold was then sprayed with a coat of blue dye which would act as a guide to reference throughout the sanding process. This prevented us from changing the mold’s precisely designed shape.
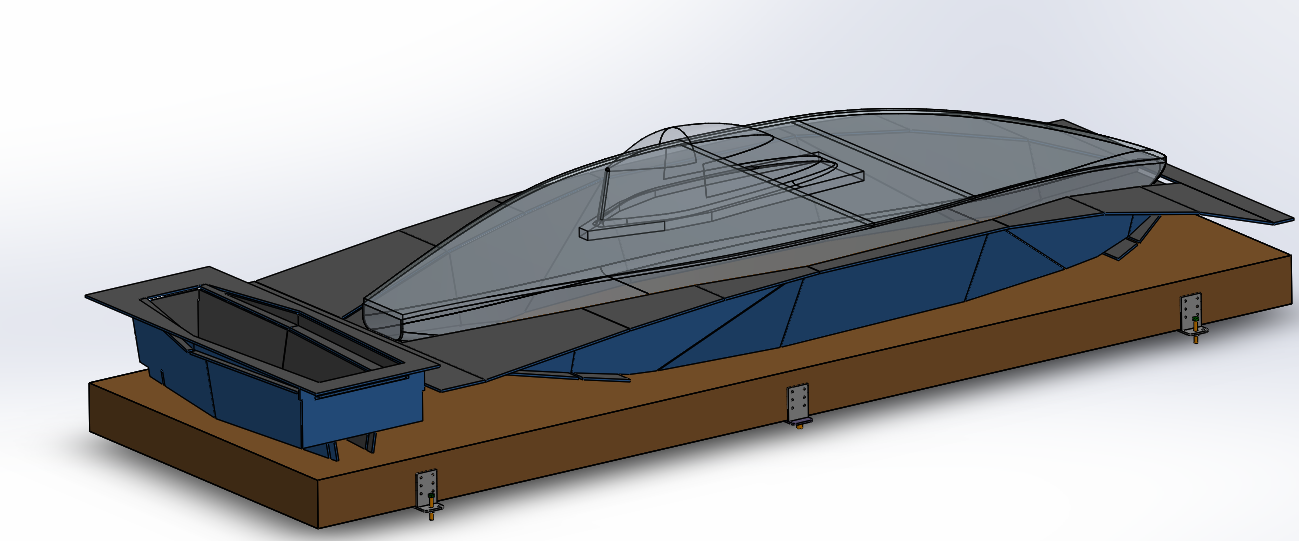
CAD file for the mold from Janicki: Car profile and wooden structure
Two weeks later, the mold was delivered to Olsson Manufacturing, who graciously donated space for the mold manufacturing process. We started sanding with 80 grit sandpaper to carve out the ridges (an artifact of the CNC machining process). By using foam from a pool noodle, we were able to sand the filets in the car much smoother and more consistently than if we were to use our fingers. Once we had flattened all of the ridges, we refined the surface to 120 grit.
After hours of feeling for rough spots and ridges across the entire surface, we brushed the dust off and began to apply a layer of Duratec. Duratec is a primer that works to seal the mold, preserving vacuum integrity during the layup. Additionally, it allows us to have a much smoother finish. The next day, after the Duratec dried, we sanded it to 320 grit. However, a few issues suddenly revealed themselves.
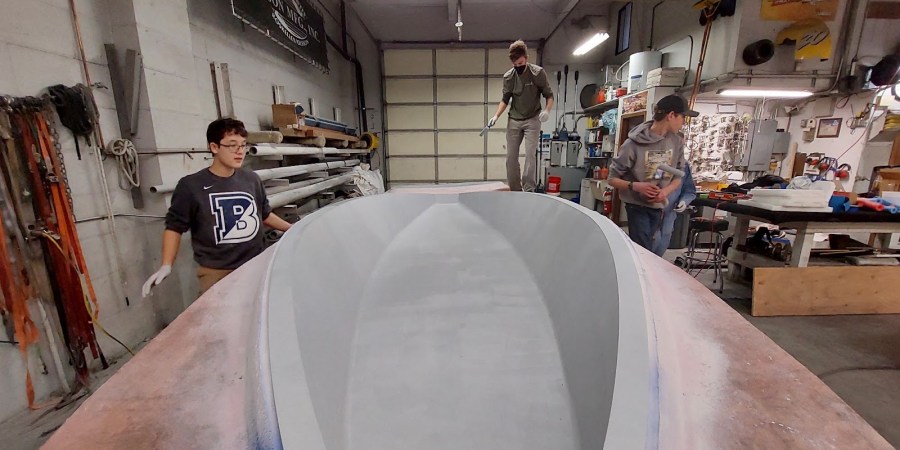
Lucien (12), Hai Lin (12) and Zach (11) applying Duratec
In some areas, especially hard-to-sand filets, we carved either mostly or all the way through the Duratec. In an attempt to solve this issue, we brushed over the low spots. Unfortunately we made a mistake of using a brush instead of a sponge as we did for the first layer. This meant that the Duratec was rough; there were high ridges followed by extremely thin sections where the bristles were. We were forced to sand nearly all the way through the Duratec again. Luckily, we learned from our mistakes, got some more Duratec, and painted on 3 coats by the next weekend.
Over the weekend, we sanded the entire mold to 320 and wet sanded to 600. Ultimately, we are super excited about how the mold turned out. We hope to lay up the carbon fiber over spring break, so stay tuned!

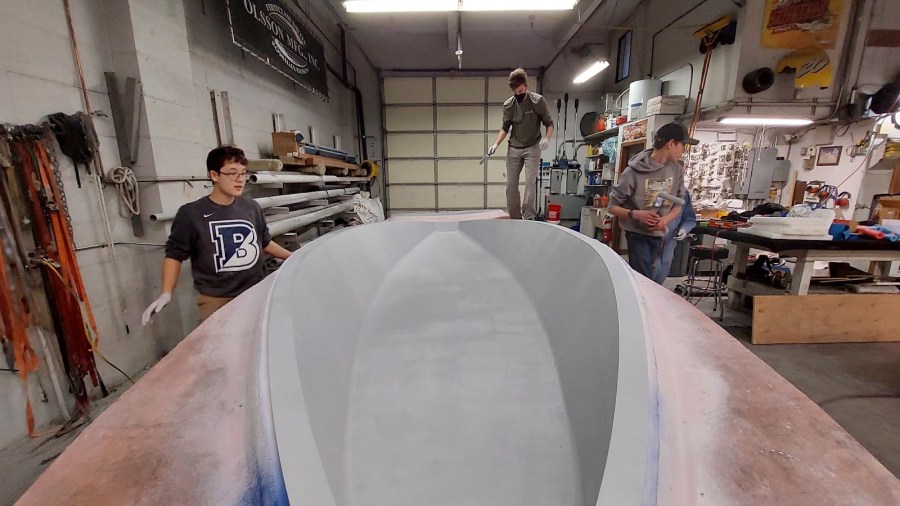
Lucien (12), Hai Lin (12) and Zach (11) drying the final finish of the mold
Excellent description of the process. You are definitely on the right track. You’re mold prep is worth every second you spend on it. Congratulations you are well on your way. Yall are awesome keep up the good work. Looking forward to seeing your final product!
This is a great update. It sounds like a harrowing process-so glad all your hard work is paying off. Can’t wait to read your next update. Keep it up!